One thing I remember about astronomy pics when I was growing up was DIFFRACTION SPIKES!!!
But where did they go? How does it work? I want diffraction spikes!
If you’re like me, you’ve taken a deep dive into astrophotography. At some point, you bought a nice camera lens, or a refractor telescope and went to town. As you learned more, your pictures improved, but you may have noticed that your stars are just dots or circles or blobs! 🙁
Enter diffraction spikes!
After spending lots of time on Astrobin, I started to see more and more pictures with diffraction spikes. They seemed to make the images more attractive, having a classic astronomy feel.
I started to learn that Newtonian Reflector telescopes are the reason for these diffraction spikes in most cases. If your telescope has big mirror in the back with a secondary mirror reflecting the image into your eye piece or into your camera’s sensor, then your stars will have diffraction spikes. This is caused by the struts that hold the secondary mirror in place.
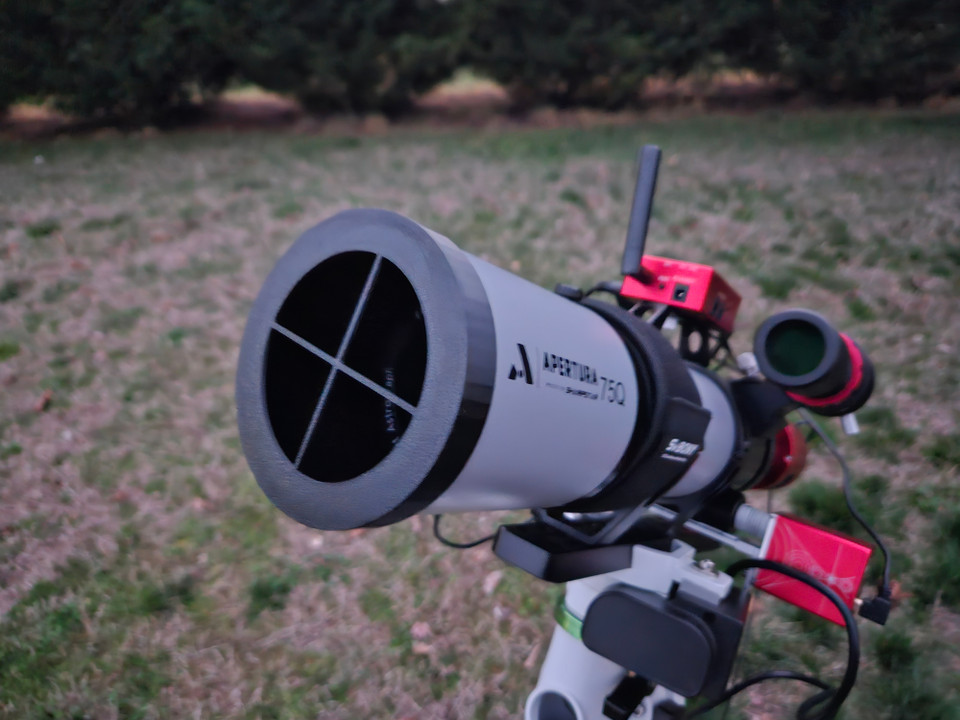
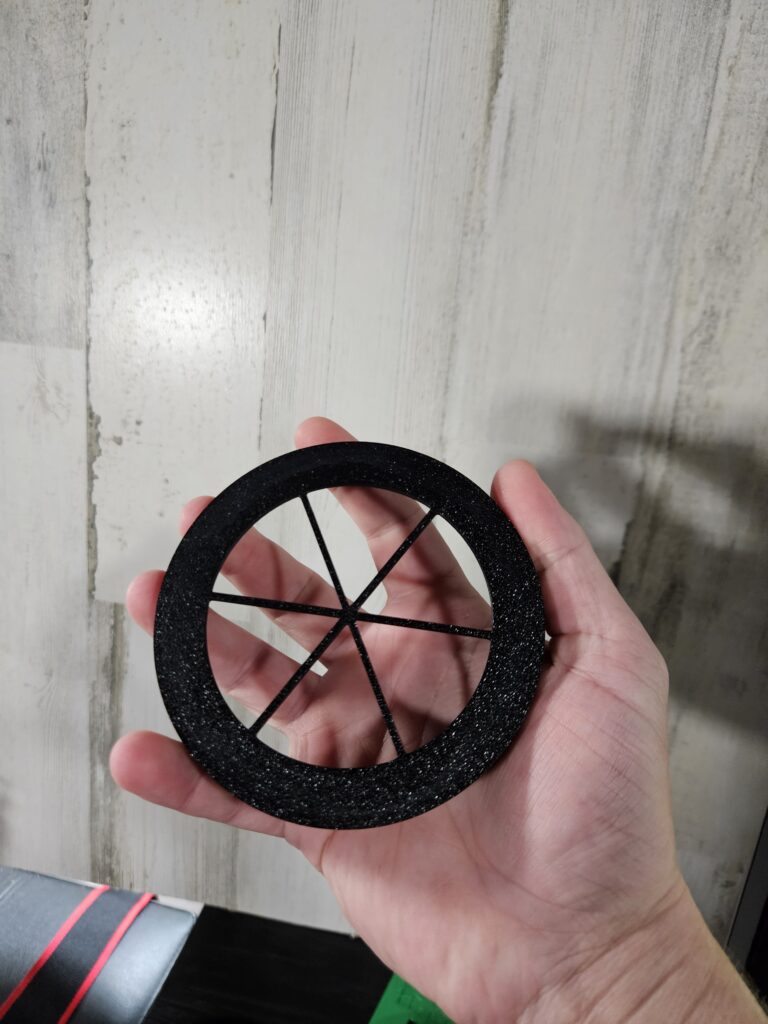
You can simulate this effect by placing a mask on your refractor that has lines in a similar fashion to a newtonian telescope. (see below)
4 point 3d printed diffraction mask on a refractor telescope6 point 3d printed diffraction mask
You can have a 4 point, a 6 point, or pretty much any other even-number of diffraction spikes you want.
You also want to make sure you have a perfect and centered fit for your mask onto your telescope otherwise the stars won’t look great up close.
You can get these diffraction masks on astroparts.com for pretty cheap, and they’re perfectly fit, snug, and reliable (and weatherproof)
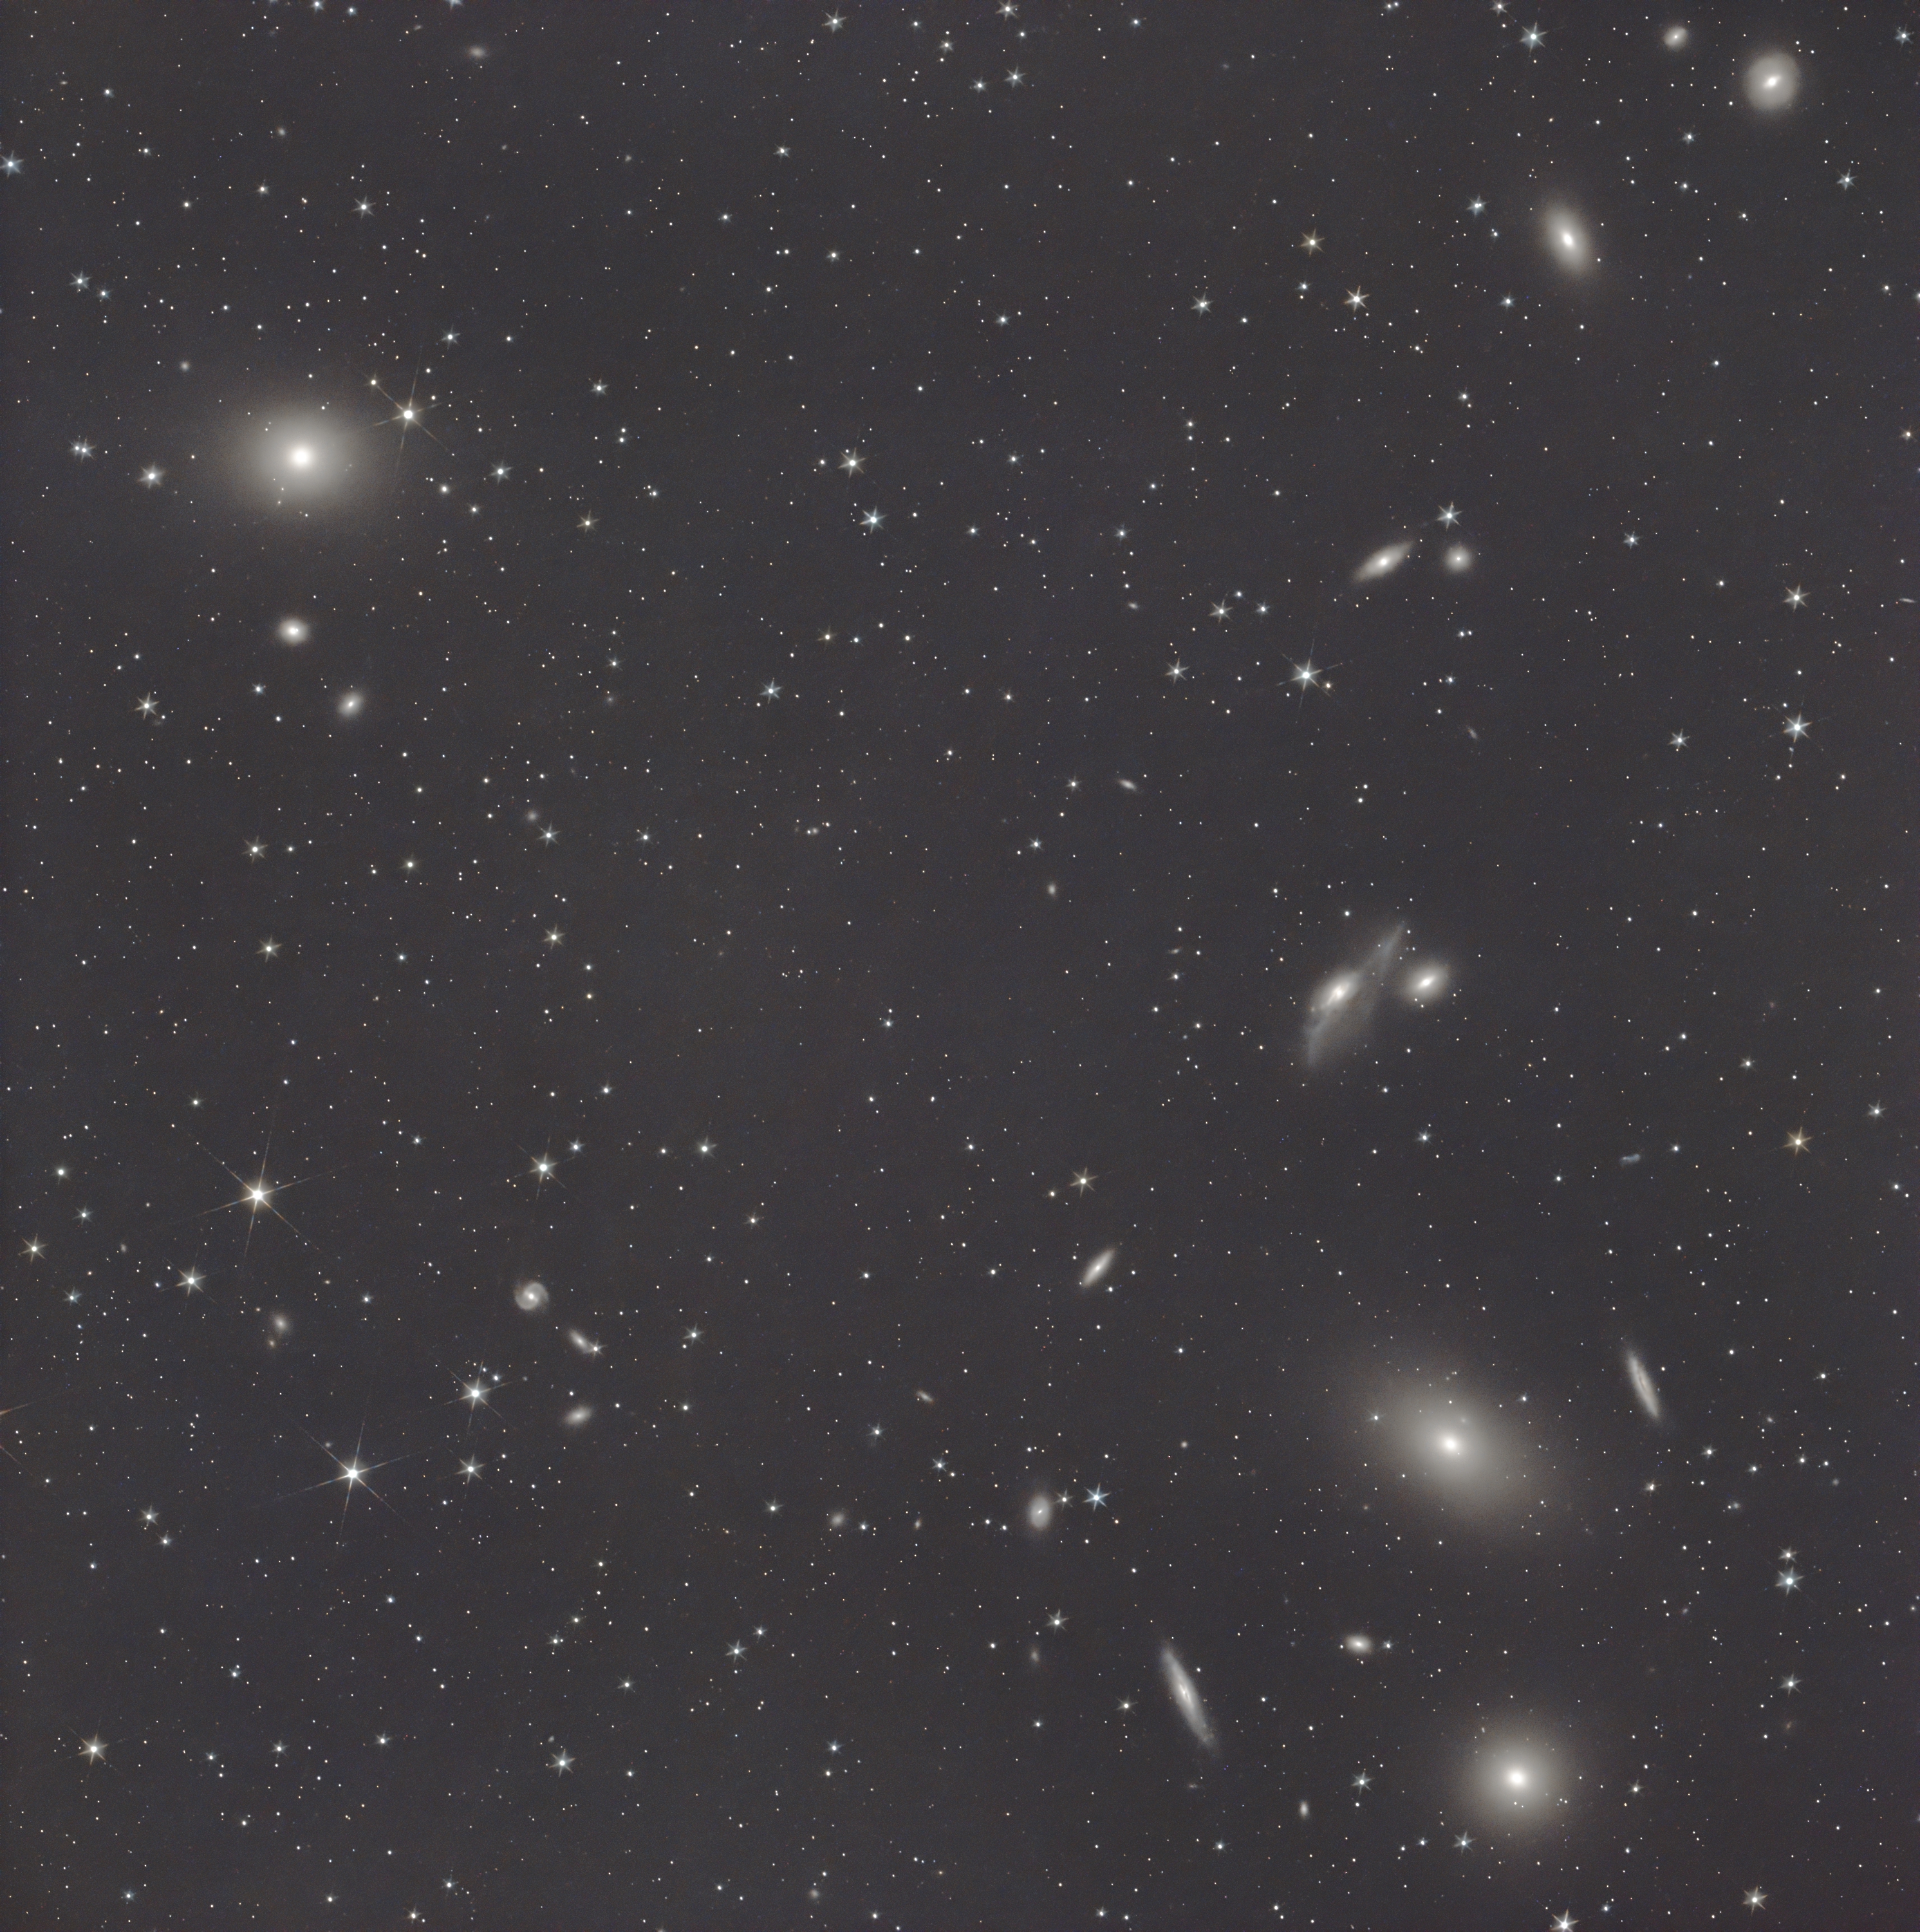
Check out my image of Markarian’s chain with the 6 point diffraction mask below
Markarian’s chain, a field of galaxies 60 million light years away
I was looking at pictures of the “mineral moon” around the time of the last full moon (which was on March 25, 2024)
For those of you that don’t know, the “Mineral Moon” is just a picture of the full moon with some saturation and settings adjusted to bring out the slight color differences on the surface.
So I found some great tutorials for how to capture and process this image. Great for those that have a standard camera and lens. However, I couldn’t find any tutorials for a One Shot Color camera, like my ZWO ASI533MC Pro.
I kept digging around and eventually decided that the best route to go was to do some basic planetary/lunar imaging. This is also referred to as “Lucky Imaging”. This is where you take high-frame-rate video instead of long exposure single frames. Using software, from the video will be a collection of individual frames, which the software will rank from best to worst.
I chose to use the software called Sharpcap to capture my moon video.
To get the full moon in focus, I first just did my normal deep sky astrophotography procedure using my ASI Air mini. -dial in my focus -polar align -slew to my target (the moon)
Once I had the moon in view, I made sure tracking was turned on, and then I actually switched my usb connected from my camera OUT of my ASI Air and IN to my laptop with Sharpcap running.
I turned on the live view in Sharpcap and could see the full moon mostly centered in the view. (side note, the ASI Air does have planetary/lunar capturing capabilities, but Sharpcap is just better in my opinion)
I went ahead and centered the moon a slight bit more, and then I used a feature called ROI (region of interest). This basically allows you to shrink down the resolution (length and width in pixels) to fit your target, which in turn allows you to capture video at a higher frame rate, which is better for planetary/lunar imaging.
Once I was happy with the framing of my target, I started recording in Sharpcap, and I watched it take the video and collect all the frames I wanted (I was going for 1000 to get a good result). It only took about 3 minutes to get to 1000 frames, so I was happy to stack and process after that.
I chose Autostakkert! to stack my image, as I’ve heard this is great for planetary/lunar image stacking.
In this software, you just open up the video file that Sharpcap saved, and then you can click Analyse. Once you’ve done that, you can choose what percentage of best-to-worst frames you want to stack. Next, in the other window that pops up with Autostakkert! where it shows your frames, click “place AP grid”
Then you can finally stack your frames. Click stack and wait for the magic!
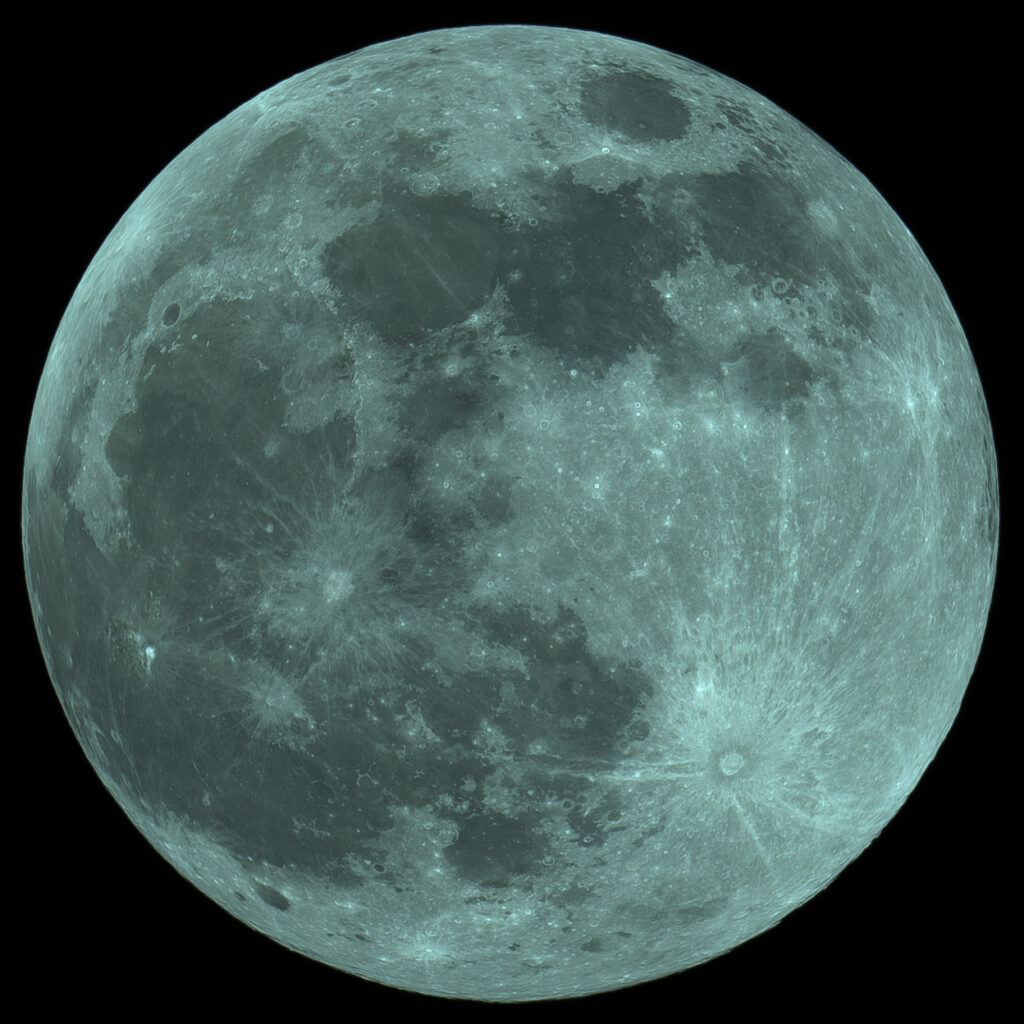
Below is my result from Autostakkert! with only a bit of sharpening in photoshop
I am really happy with that result, and I probably won’t do many more full moon shots beyond that.
But I wanted to have a Mineral Moon shot, so once I had the shot of the moon, I was okay with using any tutorial to get the job done. I found a bunch that showed how to do it in photoshop.
The basic Idea was this: -in the Camera Raw Filter window, increase saturation in the Calibration tab in all 3 color channels. -then turn up vibrance and saturation -then adjust the temperature and tint until you start seeing something like this:
Still not 100% happy with this one. I’ll have to revisit the tutorials and produce a better image. Until then, clear skies!
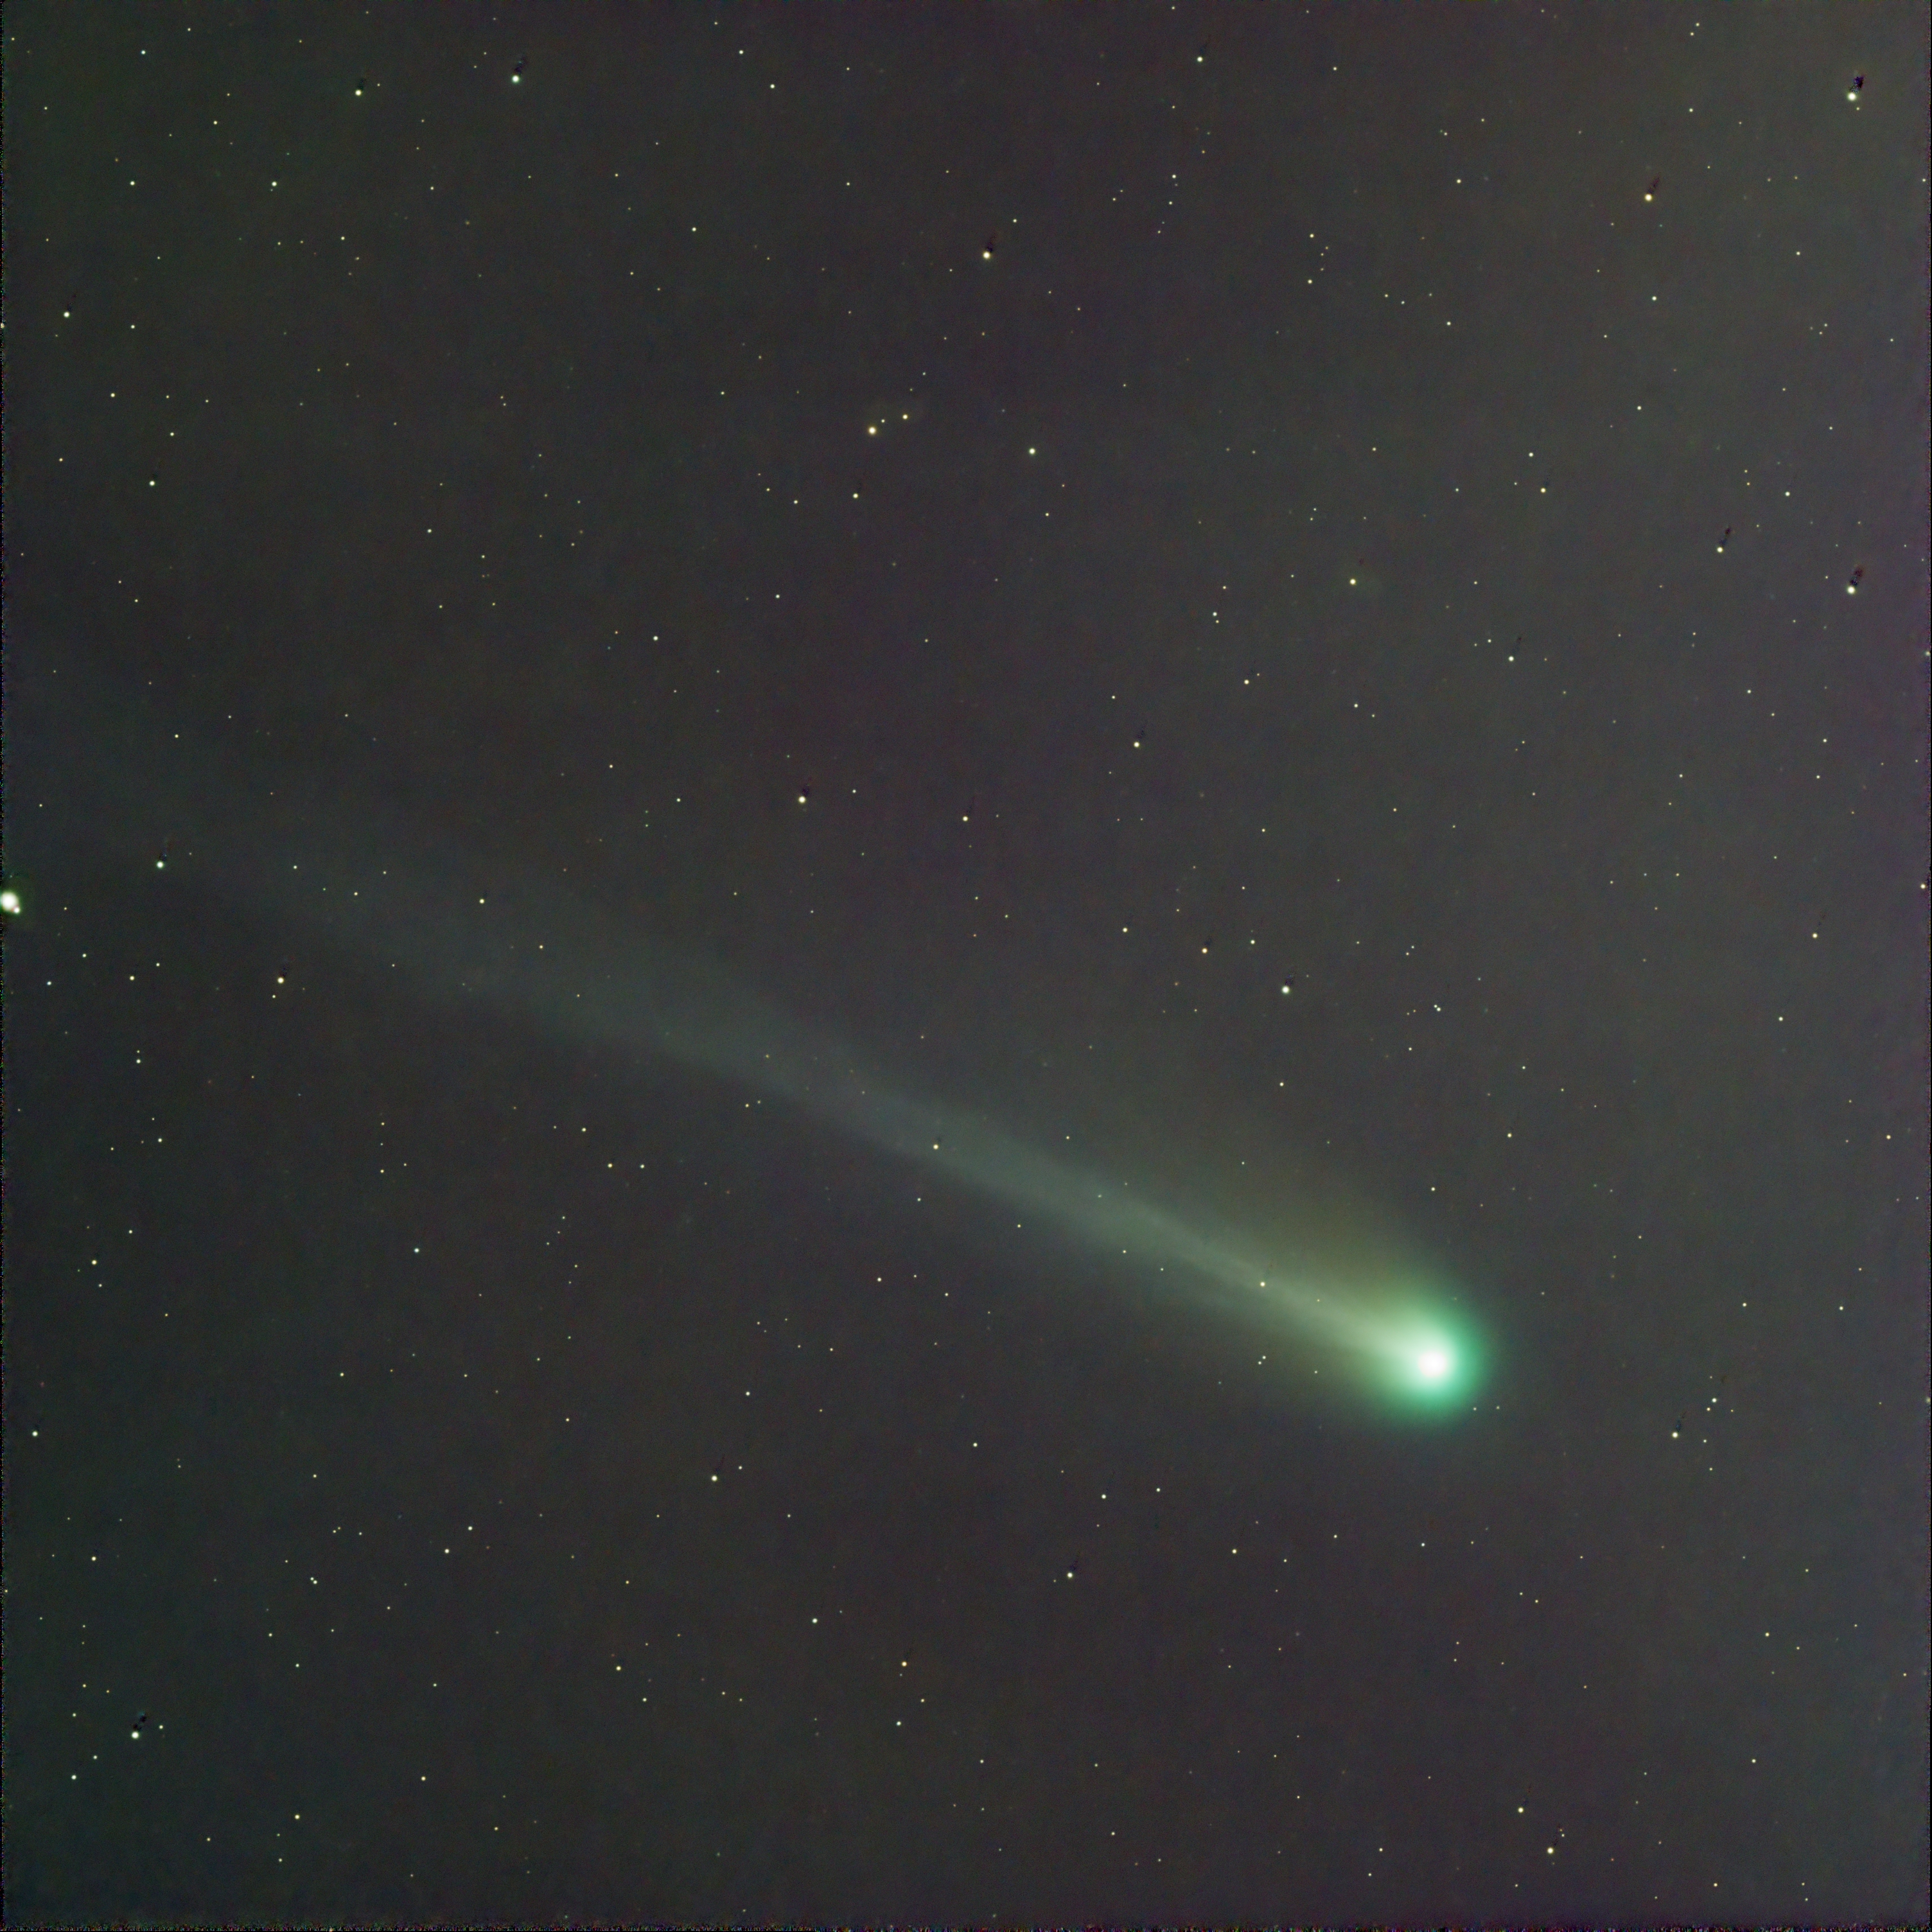
Comet 12P/Pons-Brooks has been a popular astrophotography target for the past few weeks. It’s currently sitting in between and below M31 and M33 – The Andromeda and Triangulum galaxies. Those lucky enough to have clear skies during this time will have the opportunity to capture rare and stunning images.
I made the gif using ezgif.com and my auto-stretched individual exposures converted to .jpgs
This is first comet I’ve tried to capture images of, seeing as how I’ve been doing astrophotography for only a year, but the process of imaging and processing it has been very exciting!
The first step in finding a night sky target for me is always to go on the Stellarium mobile app. I have the paid version, which allows you to add field of view boxes, so that you can simulate what your astro-rig will be able to see that night. So I searched in Stellarium for the comet and planned out my night.
I’ve heard of this “devil comet”, the one with horns – I didn’t think I’d be taking pictures of it myself. The horns appeared a few months ago, a sort of “U” shape appearing as the comet’s tail. That has since turned into a more traditional comet with a beautiful green hue.
The first time around processing the image I actually just stacked it like normal using Pixinsight’s Weighted Batch Pre-Processing script. What happened was the stars were aligned and looked great, but the comet was sort-of drifting in the image, and looked very blurry and had some artifacts, etc.
In short, what you have to do is stack your calibrated images like a normal astrophotography image (calibration here is important because hot pixels can completely ruin the image – at least take some dark frames).
Next, extract the stars from the stacked image using either StarXterminator or Starnet++, or whichever star extraction method you’re most comfortable with. Save this file as a .tif. (put this file somewhere convenient for you)
Then, if you’re using Pixinsight, use a process called CometAlignment. In this process, you will need to add all of your REGISTERED images you used during stacking. Don’t just take them off your SD card or out of your ASIAir, they need to be the registered images. Choose a sensible output directory (name it comet-aligned for simplicity)
Once you’ve added the images to CometAlignment, double click on the first comet image file, and just click in the center of the head of the comet. Do this again for the last comet image. Here we are just letting the program know how the comet has moved from the first to the last image.
Next, still in the CometAlignment process, under the “Subtract” tab – add the stars image that we saved before in the “operand image” field. Then select “stars aligned” in the operand type field.
Now you can click the circle icon to apply this process, and the “comet aligned” images will appear in your specified output directory.
The next process we need to use is called ImageIntegration. Here will will basically stack our comet aligned images.
So go ahead and add the comet aligned files. You can just click the circle and run this process, and you may end up with a great result. My issue was that when I did this, is I ended up with nasty hot pixel trails. I thought my calibration went great and had gotten rid of all the hot pixels in my image, but apparently there were some stragglers.
I was able to mitigate this a bit by selecting “Sigma Clipping” in the Pixel Rejection (1) tab. Default settings here seemed to mostly do the trick.
What I would do from here, if you’re happy with your result, is just go on and process the image like a normal astro pic.
I’m lucky enough to have all the easy mode features of Pixinsight. They are expensive, but it makes processing a breeze and you end up with great images.
For the comet, I would simply run BlurXterminator and NoiseXterminator, add some saturation and then combine the stars and starless images. Then add a slight S curve to the histogram to improve contrast
If you want to, you can get rid of the green noise (SCNR) in the image, while preserving the green hue of the comet by extracting the Luminance channel from the comet aligned image, then make a mask that protects the comet, then run the SCNR process. Proceed to process as normal after that.
So I’m happy with my image of the comet, although it certainly could have been better. We don’t have much time to capture this target per night because it’s so low on the western horizon. But if you can, try to make it out to a dark sky location and get as much time on target as you can.
Comet 12P/Pons-Brooks with a green hue hurtling toward the sun
This is 50 images at 30 seconds per exposure. I’d say 30 seconds to a minute is enough to get a good image of the comet. I shot this with my current astro-rig, which you can see on the gear page. In order to capture the galaxies with the comet in the same image, try a 135mm or 50mm lens. (50mm can get you both galaxies plus the comet).
Lastly, this comet will be a couple weeks before Perihelion (closest point to the sun) during the 2024 Total Solar Eclipse. If you’re in the path of totality, you may be able to see this comet with the naked eye when the sun is completely covered by the moon.
Orion is one of the most exciting constellations to photograph in the night sky. It’s not just the Orion nebula. You also have the Horsehead Nebula on Orion’s belt, in addition to all the other surrounding dust and hydrogen-alpha regions.
That night, comet 12P/Pons-Brooks was smack-dab in between the Andromeda and Triangulum galaxies and I intended to get the best image possible for my first comet. So I decided to head down to Assateague National Seashore in Maryland with some friends for a mini star party. For those of you that don’t know, it’s about a Bortle class 3 (dark enough to see the Milky Way with the naked eye). Check out this light pollution map for reference.
Unfortunately, by the time I had all the gear set up, the clouds rolled in on the western horizon. So although the comet was a no-go, I was determined to go home with a decent picture. I looked around at the sky and spent a bit of time deciding which target to go for. I went with Orion because my friend brought his rig as well, which is equipped with a modified DSLR (canon 60d) and a Rokinon 135mm for extra wide field views.
So with the rokinon 135mm and my Apertura 75Q with a focal length of 405mm (see the gear page), a cooled camera, auto focuser, and guiding, the images were bound to be show-stoppers.
I have almost a year of experience under my belt and have been lucky to be able to spend lots of free time and money to prepare for an opportunity like this. I’ve set up the 135mm rig a number of times (it was originally mine), and I run the Apertura 75Q rig on almost every clear night.
Of course, I brought the dobsonian along, so I set that up as well for everyone to check out amazing views of the waxing crescent moon and Jupiter.
After all was said and done, it took about an hour to set everything up (including a bit of instruction on polar alignment and imaging sequencing for my friend on his rig)
Once set up, we took a few test images – around 30 second exposures just to get our bearings straight, and our targets framed up. With the Rokinon 135mm on the star tracker, after a rough polar alignment we decided on 1 minute subs. Surprisingly, we didn’t even need to hone in on polaris, our very rough polar alignment worked just fine to mitigate star trailing in the 135mm field of view.
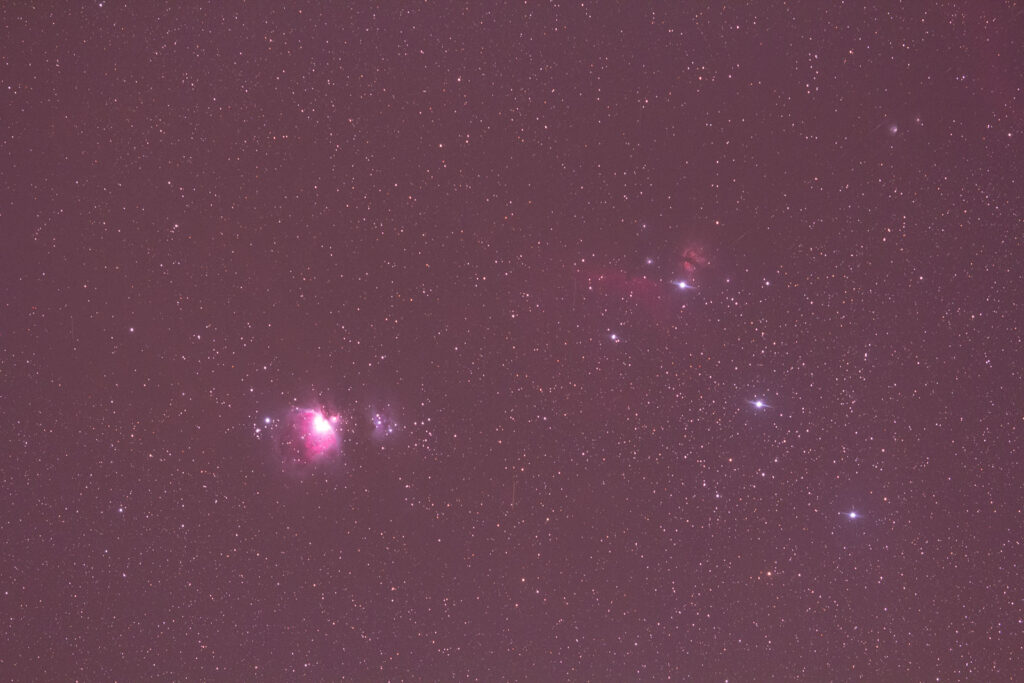
The sub exposures were pretty impressive to say the least (see below), so we knew we were going to end up with something nice.
60 second exposure of Orion taken from a 135mm lens and modified dslr camera
It’s always an awesome night down at Assateague. Even though the clouds rolled in on most of the sky, we were still able to get enough subs to get a nice final result. We were imaging for over an hour, and the clouds had draped over our targets half of that time. The next day, I carefully hand-picked the images from each rig to weed out the ones with too much cloud cover.
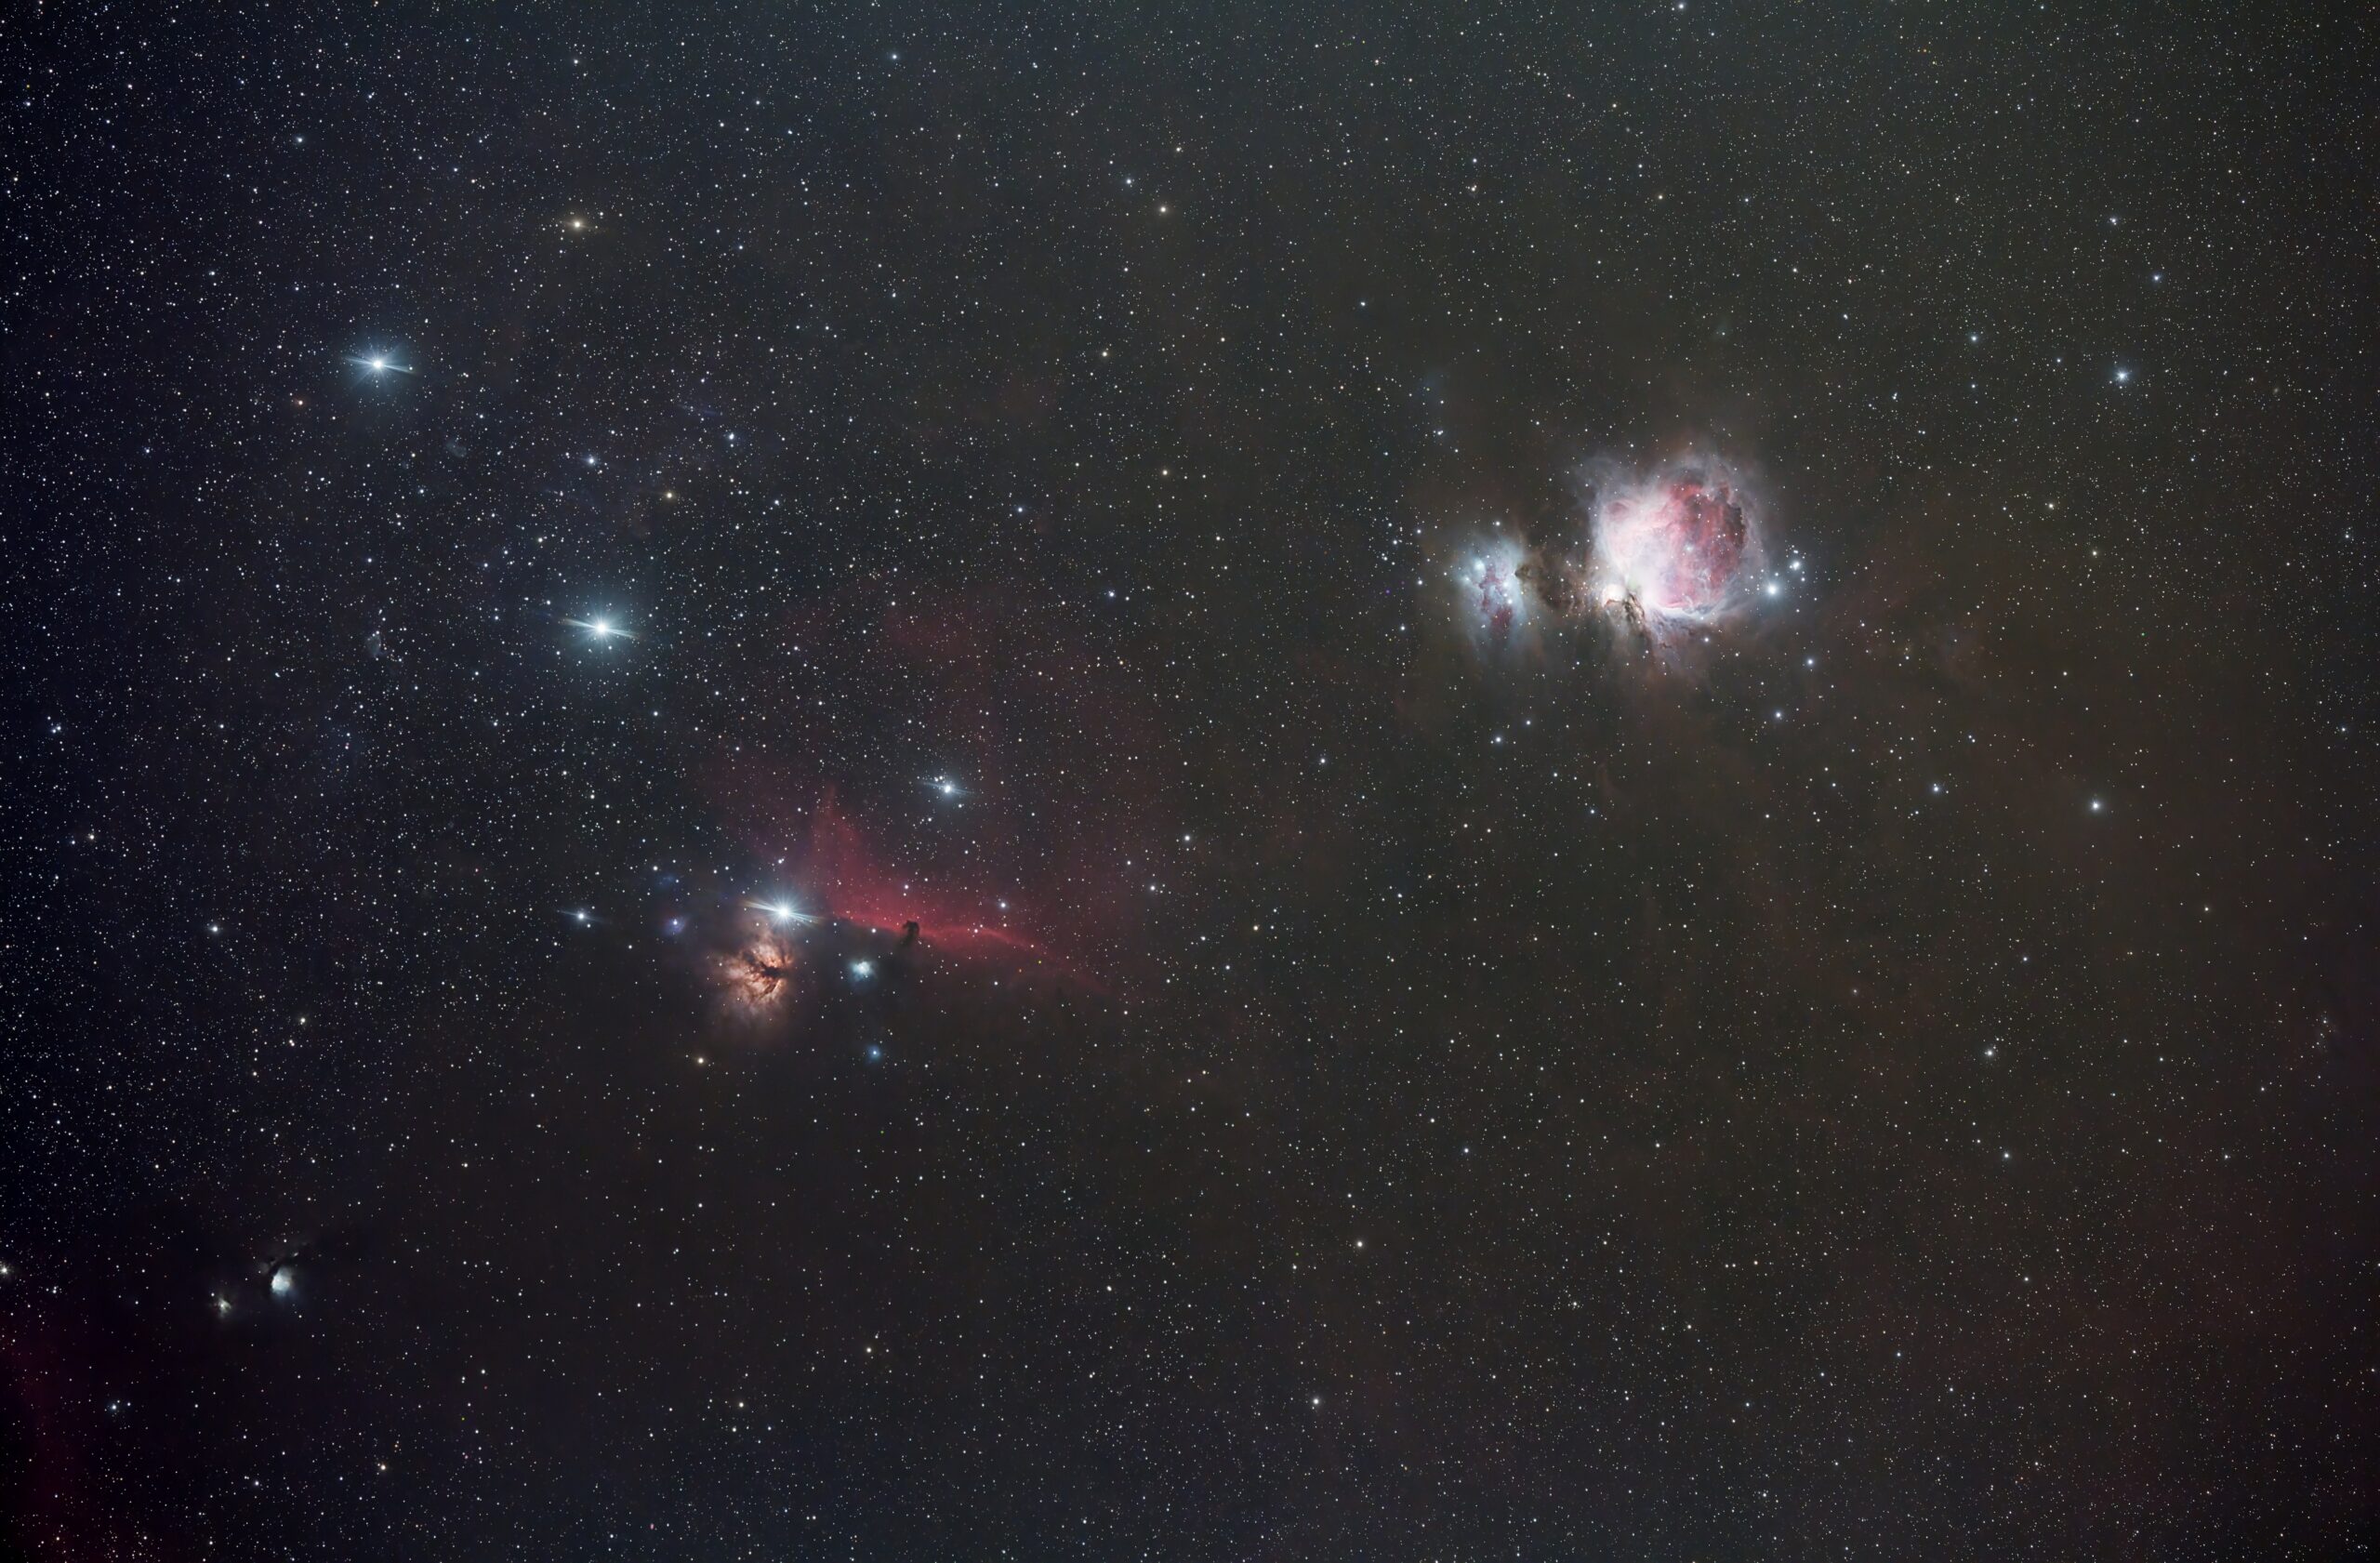
See the final stacked image below from the 135mm right, including only 31 sub-frames stacked in Siril and processed in Pixinsight!
Wide field view of Orion including Orion’s belt, the Horsehead Nebula and the Orion Nebula
Moving on to the Apertura 75Q.
I decided on 4 minute sub-exposures, which may have been too long because I had to throw out a larger percentage of my subs due to clouds and occasional lights shining in.
For the image below I ended up with 18 good frames I could use, for a total of 72 minutes of total exposure time.
The Horsehead Nebula through an Apertura 75Q Refractor Telescope
So overall it was a great night, regardless of the clouds and lights. I definitely need to plan more trips to Assateague. Maybe I’ll organize an annual star party there some time in the near future!
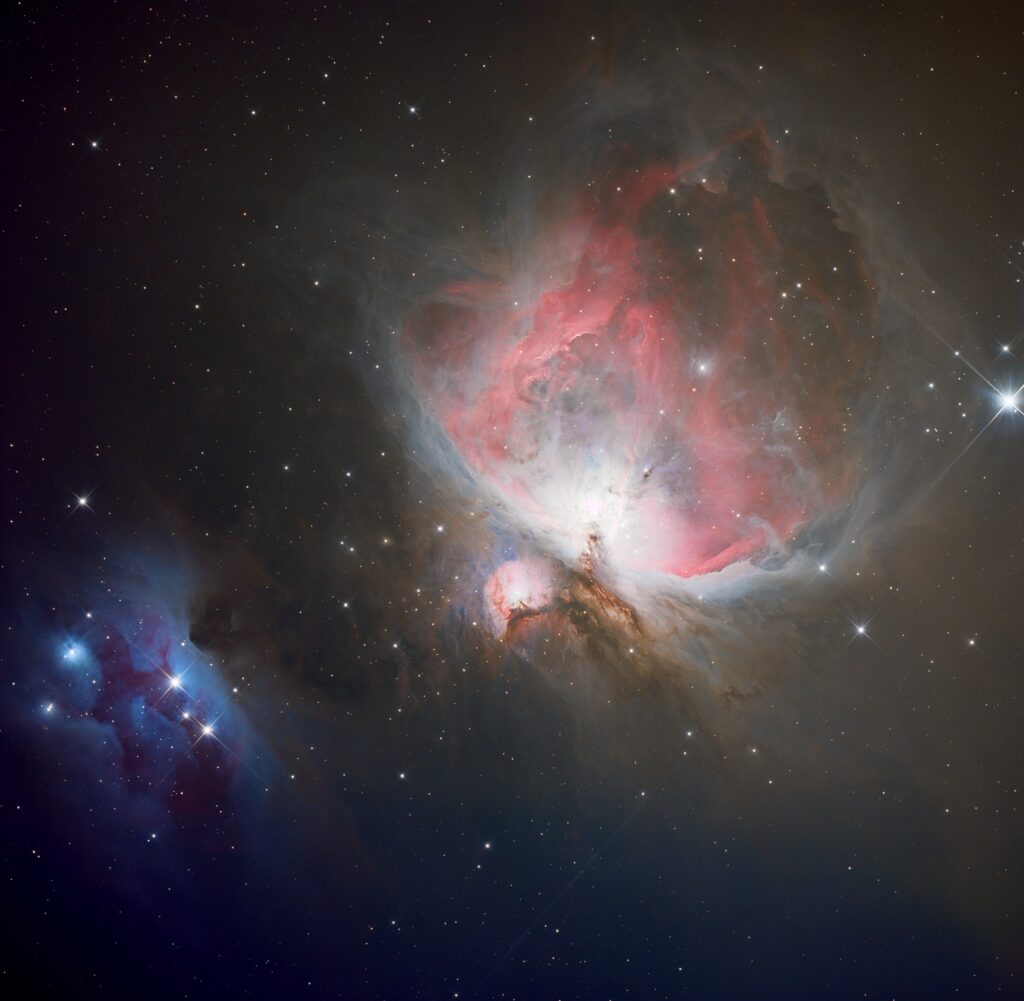
To another image comparison into the mix, here is an image of the Orion Nebula I took with my normal astro rig, minus the Apertura 75Q – instead using the Skywatcher Quattro 150p Newtonian Astrograph with a focal length of 600mm (518 with the coma corrector/reducer)
The Orion Nebula through a Newtonian Imaging Telescope