I was looking at pictures of the “mineral moon” around the time of the last full moon (which was on March 25, 2024)
For those of you that don’t know, the “Mineral Moon” is just a picture of the full moon with some saturation and settings adjusted to bring out the slight color differences on the surface.
So I found some great tutorials for how to capture and process this image. Great for those that have a standard camera and lens. However, I couldn’t find any tutorials for a One Shot Color camera, like my ZWO ASI533MC Pro.
I kept digging around and eventually decided that the best route to go was to do some basic planetary/lunar imaging. This is also referred to as “Lucky Imaging”. This is where you take high-frame-rate video instead of long exposure single frames. Using software, from the video will be a collection of individual frames, which the software will rank from best to worst.
I chose to use the software called Sharpcap to capture my moon video.
To get the full moon in focus, I first just did my normal deep sky astrophotography procedure using my ASI Air mini.
-dial in my focus
-polar align
-slew to my target (the moon)
Once I had the moon in view, I made sure tracking was turned on, and then I actually switched my usb connected from my camera OUT of my ASI Air and IN to my laptop with Sharpcap running.
I turned on the live view in Sharpcap and could see the full moon mostly centered in the view. (side note, the ASI Air does have planetary/lunar capturing capabilities, but Sharpcap is just better in my opinion)
I went ahead and centered the moon a slight bit more, and then I used a feature called ROI (region of interest). This basically allows you to shrink down the resolution (length and width in pixels) to fit your target, which in turn allows you to capture video at a higher frame rate, which is better for planetary/lunar imaging.
Once I was happy with the framing of my target, I started recording in Sharpcap, and I watched it take the video and collect all the frames I wanted (I was going for 1000 to get a good result). It only took about 3 minutes to get to 1000 frames, so I was happy to stack and process after that.
I chose Autostakkert! to stack my image, as I’ve heard this is great for planetary/lunar image stacking.
In this software, you just open up the video file that Sharpcap saved, and then you can click Analyse. Once you’ve done that, you can choose what percentage of best-to-worst frames you want to stack. Next, in the other window that pops up with Autostakkert! where it shows your frames, click “place AP grid”
Then you can finally stack your frames. Click stack and wait for the magic!
Below is my result from Autostakkert! with only a bit of sharpening in photoshop
I am really happy with that result, and I probably won’t do many more full moon shots beyond that.
But I wanted to have a Mineral Moon shot, so once I had the shot of the moon, I was okay with using any tutorial to get the job done. I found a bunch that showed how to do it in photoshop.
The basic Idea was this:
-in the Camera Raw Filter window, increase saturation in the Calibration tab in all 3 color channels.
-then turn up vibrance and saturation
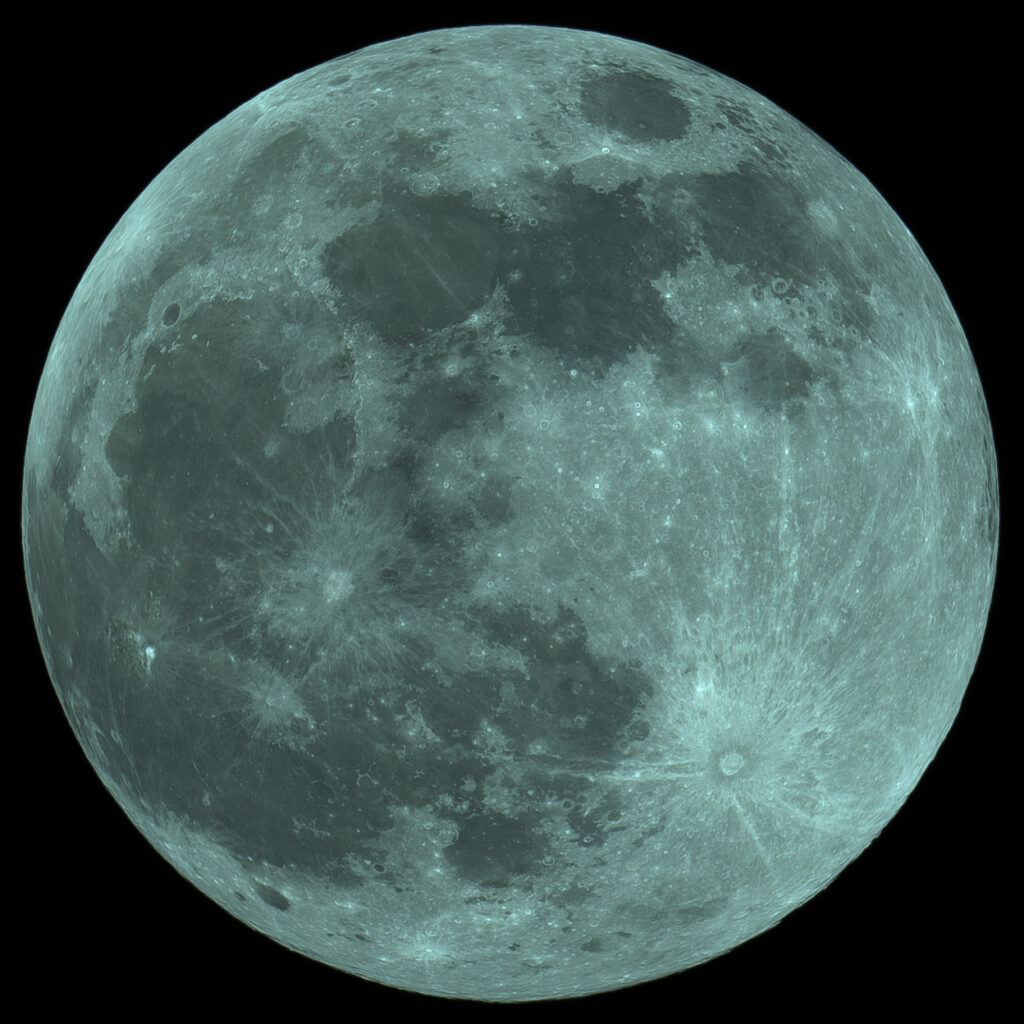
-then adjust the temperature and tint until you start seeing something like this:

Still not 100% happy with this one. I’ll have to revisit the tutorials and produce a better image. Until then, clear skies!